PVC banner prep: hems, pockets and eyelets worked out for you
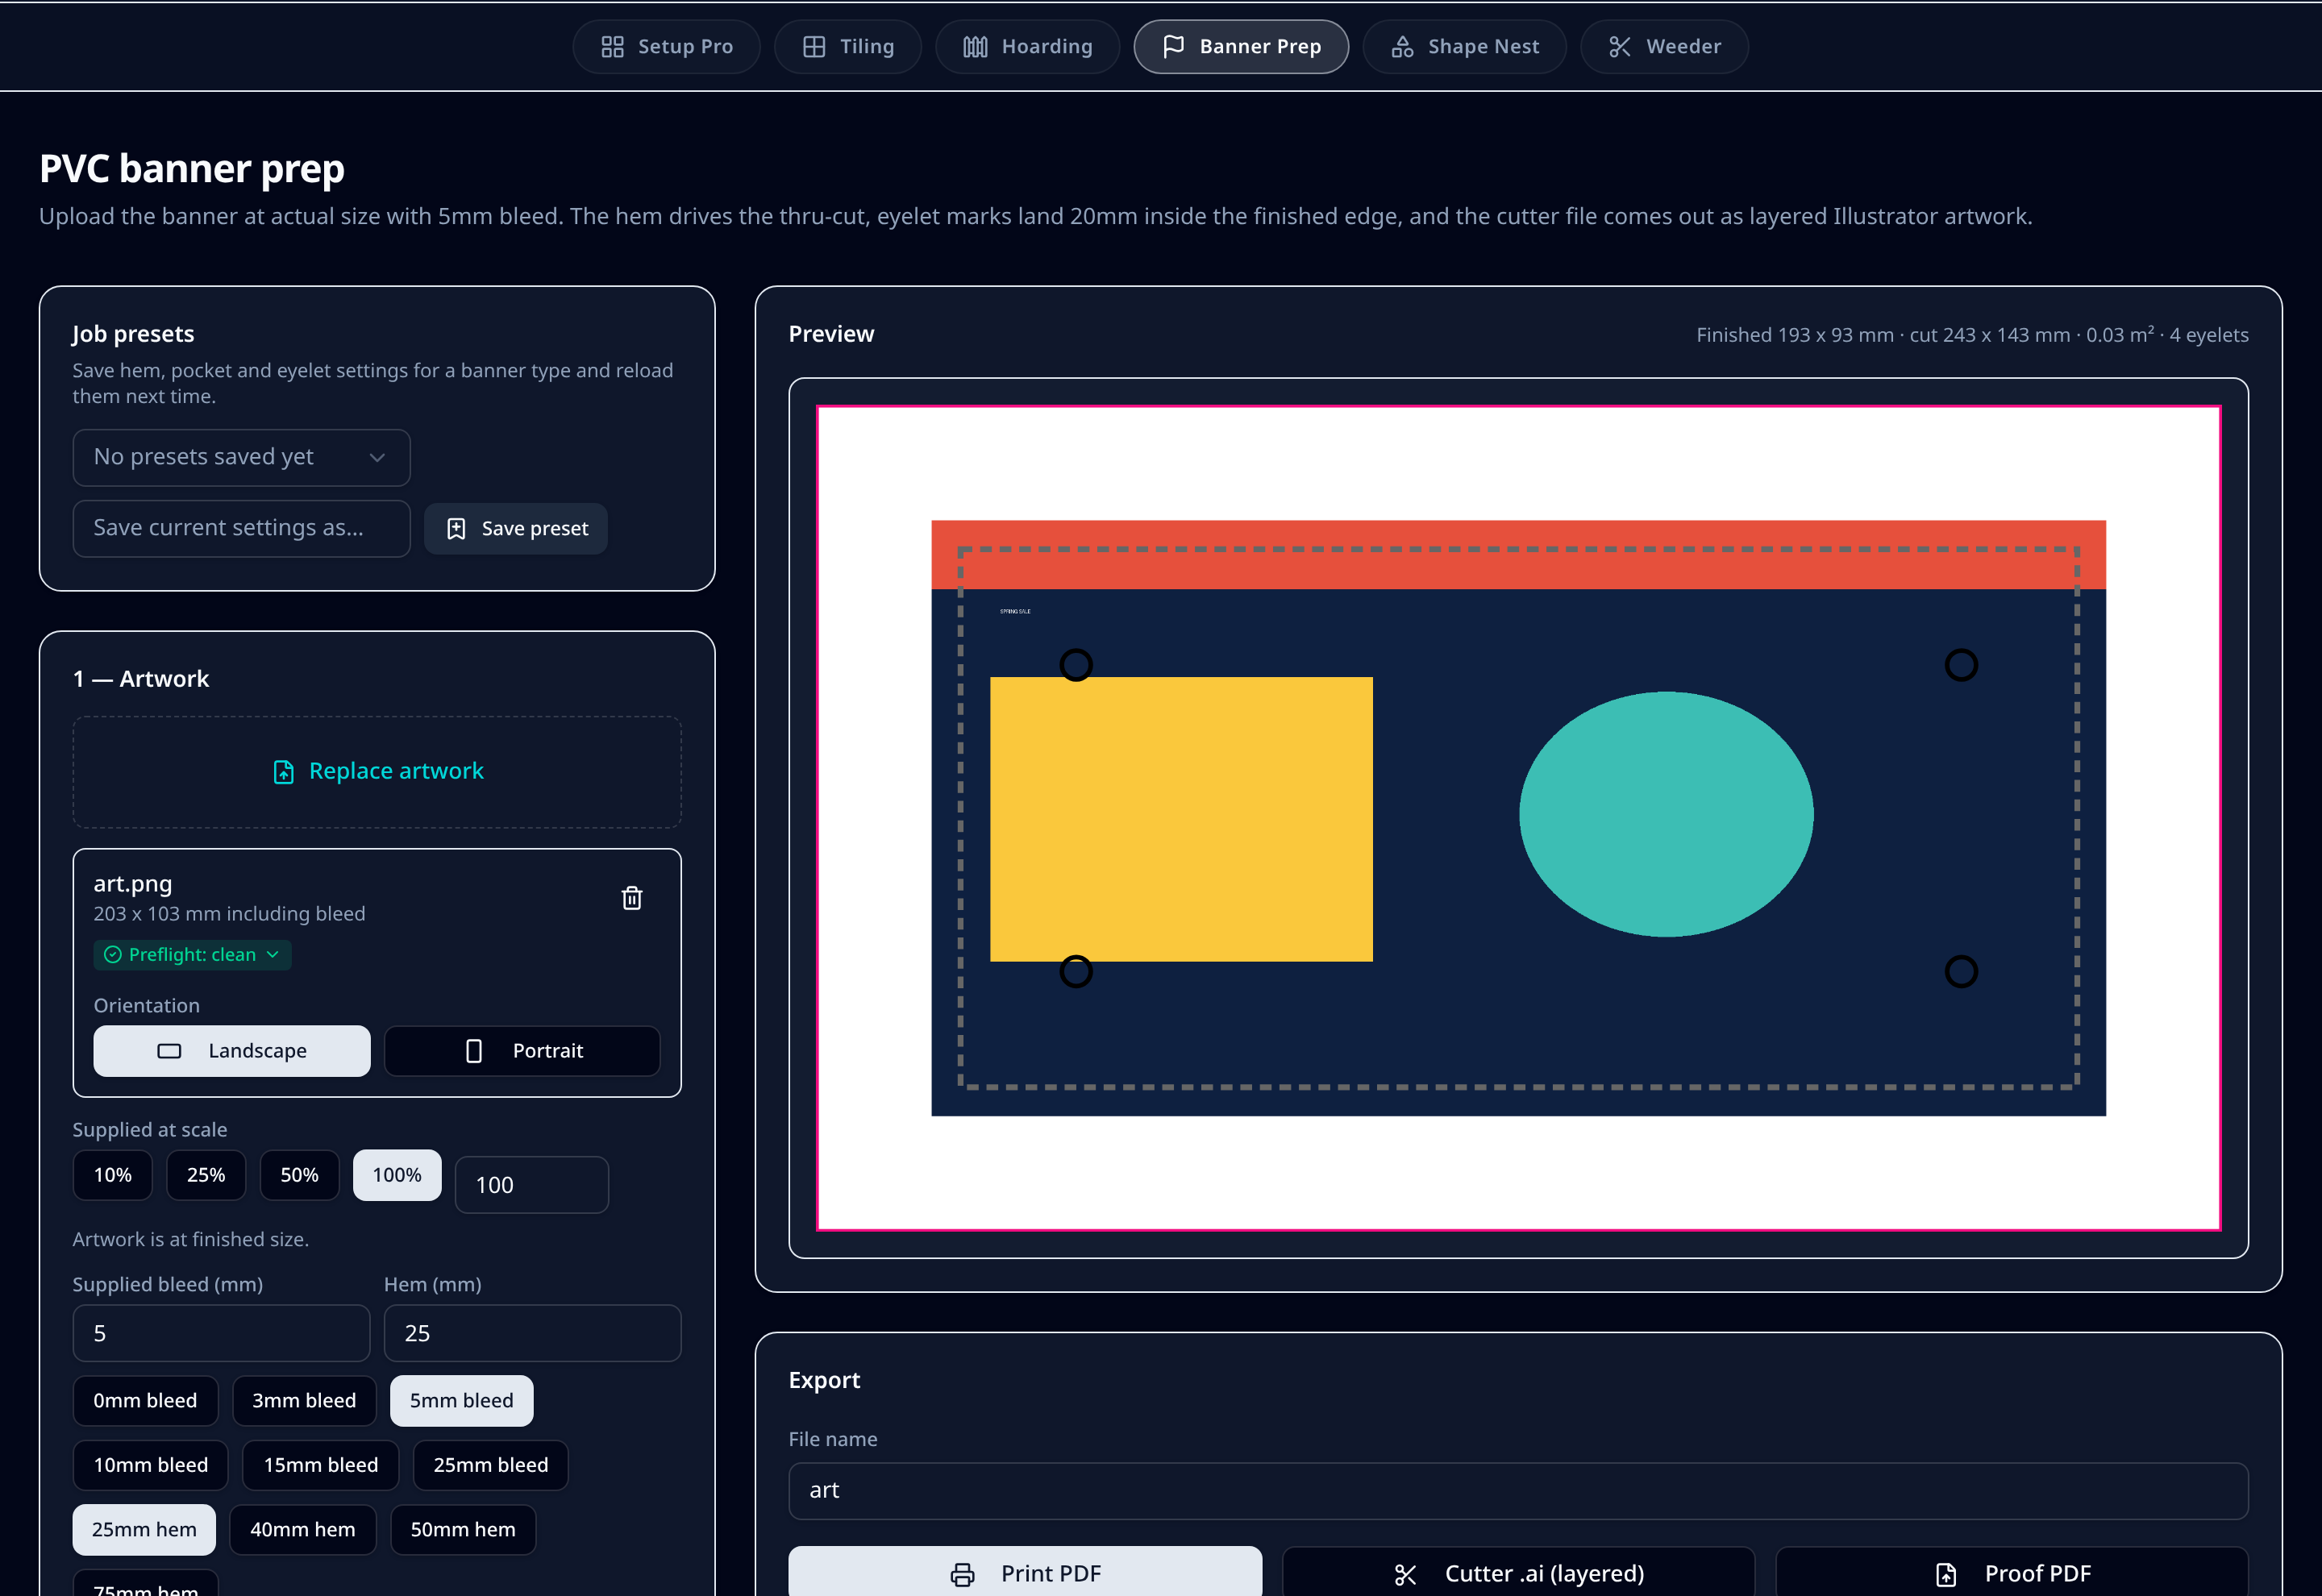
Upload the banner at actual size with 5mm bleed and set the hem. Banner Prep drives the thru-cut from the hem, drops eyelet marks 20mm inside the finished edge at even spacing, adds pole pockets where you need them and writes the cutter file as layered Illustrator artwork.
7-day trial code, then £99/month per user or £990/year. Artwork is processed in your browser — we never store your files.
What it does on the shop floor
Hem drives the cut
Pick a 25mm, 40mm, 50mm or 75mm hem and the thru-cut moves out to allow for it, so the finished banner measures what the customer ordered after folding.
Eyelets spaced evenly
Eyelet marks are 5mm circles landing 20mm inside the finished edge, spaced at roughly 500mm and balanced along each side so corners always carry one.
Pole pockets when needed
Add top, bottom or both pockets at the depth your poles need; the cut and hem allowances update with them.
Register dots for the flatbed
6mm register dots sit outside the cut so a flatbed or roll cutter can pick the banner up accurately after printing.
Preflight before print
Resolution, fonts, transparency and colour space are checked on upload, so a low-res logo is caught before 12m² of PVC goes through the machine.
Print, cutter and proof
Three files: a print PDF with bleed, a layered cutter .ai carrying thru-cut and eyelet marks separately, and a customer proof.
Step by step
- 1Upload the banner artwork at actual size including 5mm bleed and confirm the orientation.
- 2Set the hem, and add pole pockets top and bottom where the fixing needs them.
- 3Adjust eyelet spacing if the site calls for tighter fixings, or turn eyelets off for a pocketed banner.
- 4Check the preview: finished size, cut size, area and eyelet count are reported before you export.
- 5Download the print PDF for the RIP and the layered cutter .ai for the finishing table.
- 6Send the proof PDF for sign-off if the job needs approval.
Defaults & tolerances
- Artwork bleed expected
- 5mm at actual size
- Hem options
- 25mm, 40mm, 50mm, 75mm
- Eyelet mark
- 5mm circle, 20mm inside finished edge
- Eyelet spacing
- ≈500mm, balanced per side
- Register dots
- 6mm
- Exports
- Print PDF, layered cutter .ai, proof PDF
Questions printers ask
Should I supply the banner at finished size or cut size?
Finished size with 5mm bleed. Banner Prep adds the hem allowance and works the cut line out from there, so the banner measures the ordered size once it is hemmed.
Why 20mm in from the edge for eyelets?
That places the eyelet through the folded hem rather than single-thickness PVC, which is what stops it tearing out in wind. The mark is a guide for the press, not a printed circle.
Can I change the eyelet spacing?
Yes. 500mm is the default; tighten it for exposed sites or open it up for interior banners. Spacing is balanced along each side so both corners always carry an eyelet.
Does the cutter file include the artwork?
No. The cutter .ai carries the thru-cut, eyelet marks and register marks on separate top-level layers so the cutting software reads each as its own process.